
Showing 73 articles
Uncategorized
Hollow-Sounding Tiles: When Are They a Real Problem?
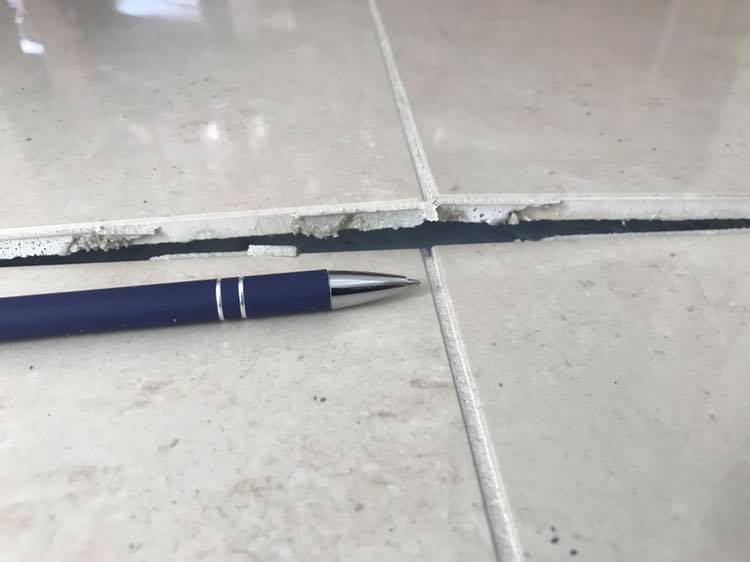
Tap a tiled wall and you will hear something. Most tiles have a slightly drummy sound here and there, especially near edges, corners, or against older substrates. The question most owners ask, rightly, is: how drummy is too drummy? When are hollow-sounding tiles a sign of a serious problem, and when are they just background noise you can safely leave alone?
What hollow-sounding tiles are telling you
A hollow sound is the result of an air cavity behind the tile. Where the adhesive has fully supported the tile, tapping produces a solid, dull sound. Where there is a cavity, the sound is hollow and noticeably different.
Importantly, a hollow sound on its own does not always mean the installation has failed. Small hollow-sounding areas can exist in otherwise sound installations. What matters is whether the tile has enough adhesive coverage behind it to meet the Australian standard, and whether that coverage is evenly distributed. Only a proper inspection can confirm that.
When a hollow sound is not a problem
Not every hollow patch means the installation is defective:
Small isolated patches. One or two tiles with a slight hollow sound, well away from wet area joints, are often within the normal variation of an otherwise compliant installation.
Edge effects. Tapping near cut edges or corners can produce a hollow sound without meaningful debonding underneath.
Older installations on stable substrates. Some settling is normal over years of use.
The real test is how much of each tile is actually bonded to the wall behind it. When that drops below the standard, or when the adhesive under the tile is unevenly spread, the installation is defective. Only an inspection can confirm whether that is the case.
When a hollow sound is a real problem
Hollow sounds become a real concern when they appear:
Across multiple adjacent tiles. A group of drummy tiles usually indicates a systemic bonding failure rather than a one-off.
In wet areas. In a shower, bath surround, splashback, or laundry, cavities behind tiles can hold water and breach the compliance requirements for wet areas.
In spreading patterns. Drumminess that is getting worse over weeks or months means the debonding is progressive.
With other symptoms. Lifting grout, cracked tiles, visible movement under pressure, or water stains on adjacent surfaces are all indicators of a compliance-grade defect.
In spot bonded installations. If the tiles were originally installed with adhesive applied in dabs using the wrong adhesive type, the installation is defective regardless of how stable it seems today.
How to know for certain
The only way to know for certain whether hollow-sounding tiles are a real problem is a professional inspection. Our TRIM inspection process combines three diagnostic methods:
Thermal imaging to map adhesive contact coverage across the tiled surface.
Resonance testing to identify the characteristic hollow sound and correlate it with thermal imaging findings.
Test drilling through the grout joints to confirm cavity depth.
Together, these give you a quantified picture of the installation, rather than a guess based on how it sounds from the outside. The full inspection methodology is on our How It Works page.
What happens if rectification is needed
If the inspection shows the adhesive contact behind the tiles has fallen below the standard, the tiles are defective and, in wet areas, likely in breach of the National Construction Code. Cavity Bridging Injection is the TRIM rectification service developed for exactly this situation. Injectabond adhesive is pressure injected through the existing grout joints to fill the cavity and bring coverage back within the standard, without removing any tiles. Examples are documented on our projects page, with client feedback on our testimonials page.
The simple rule of thumb
If you have a single isolated drummy tile outside a wet area, it is probably fine. If you have drummy tiles in a shower, a spreading area of hollow-sounding tiles, tiles that are moving or lifting, or tiles you know were spot bonded, it is worth booking an inspection. The cost of a professional assessment is small compared to the cost of a progressive failure left untreated.
We work across Brisbane, Sydney, Melbourne, the Gold Coast, and other areas across Australia. Contact us to arrange an inspection.
Read more →
Uncategorized
Defective Tile Installations: A Builder’s Guide to Handover-Ready Fixes
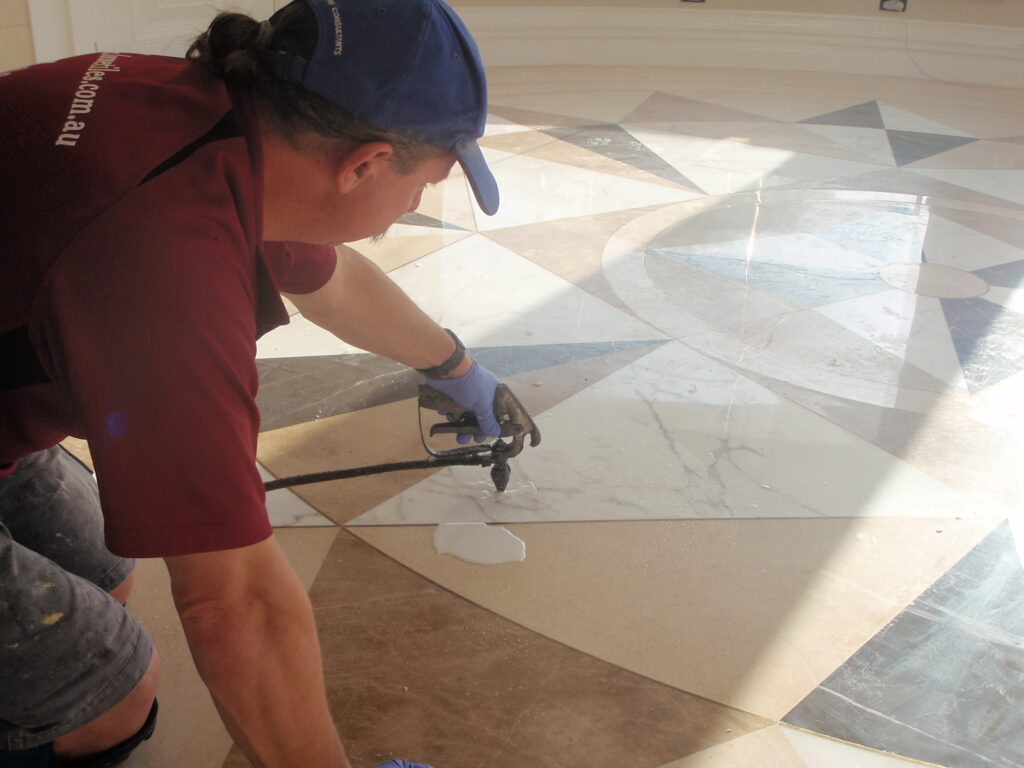
Handover is the part of a build where tile defects tend to surface. A walkthrough reveals drummy tiles in the ensuite. A final inspection picks up hollow patches behind the shower. An owner notices lifting around the vanity. Suddenly the handover is on hold, the client is asking hard questions about workmanship, and you are weighing up whether to argue the point or strip and retile the wet area at your cost. Cavity Bridging Injection is often the better option for both outcomes.
The common defects builders see at handover
Most handover tile defects fall into a few recognisable categories:
Spot bonded tiles. Adhesive applied in dabs rather than a full bed, leaving cavities behind tiles. Considered defective when the wrong adhesive is used.
Poor contact coverage. Less than 90% adhesive contact between tile and substrate. This is the most common defect picked up in inspections.
Uneven distribution. Adhesive concentrated in the middle of tiles with dry edges. The edges are where stress and water affect tiles the most.
Debonded wall tiles. Progressive failure where tiles have lost adhesive contact since installation, often in wet areas.
Each of these defects breaches the compliance requirements for wet areas and puts the waterproofing system behind the tiles at risk.
Why stripping is usually not the right answer
The first instinct with tile defects is often to strip and retile. It feels like the cleanest outcome. In practice, it rarely is:
You lose the waterproof membrane. It needs to be reinstalled, inspected, and recertified.
Tile matching becomes a problem. Batches run out, ranges are discontinued, and the owner often notices the difference.
The timeline blows out. Demolition, drying, membrane, tiling, grouting, and curing add weeks to handover.
Costs escalate. Labour, materials, make-good, and consequential delays add up quickly.
Other trades are disturbed. Plumbing, shower screens, and vanities often need to be removed and reinstalled.
On top of that, stripping only makes sense if the defect is so widespread that spot rectification cannot restore compliance. That is rarely the case.
Cavity Bridging Injection as a builder's tool
The Tile Reglue Injection Method, delivered as our rectification service, was developed for exactly this situation. Injectabond adhesive is pressure injected through the existing grout joints into the cavity behind each debonded tile. The cavity is filled, adhesive contact coverage is restored to the level the standard requires, and the installation is brought back into compliance.
For a builder, that means:
No demolition. The waterproof membrane stays intact and certified.
No tile matching. The original tiles stay on the wall.
Fast turnaround. Most handover-scale rectifications are completed in a day or two.
Documented outcome. Thermal imaging before and after confirms compliance, which you can pass on to the client, the certifier, or an insurer.
Backed by warranties. 10 year workmanship warranty and 10 year Injectabond product warranty, supporting your own defect liability position.
Compliance you can hand over
Rectification through Cavity Bridging Injection brings the installation back within the requirements of the Australian tile installation standard and the National Construction Code. It also keeps adhesive manufacturer installation requirements intact, so product warranties remain valid.
The inspection report and post-injection thermal imaging give you an evidence trail you can rely on, whether you are closing out a defect list, defending a practical completion date, or dealing with an insurance or warranty claim after handover. The full methodology is explained on our How It Works page, with examples on our projects page and feedback from past clients on our testimonials page.
How to engage TRIM on a build
Our team has worked alongside builders, rectification contractors, strata managers, and major insurers on domestic and commercial projects across Australia for 30 years. We can inspect a single bathroom or map defects across an entire building, provide a compliant rectification scope, and deliver the works in coordination with your program.
We work across Brisbane and South-East Queensland, Sydney, Melbourne, the Gold Coast and Northern Rivers, Mackay, Townsville, Tasmania, and other areas across Australia.
If you have a handover-blocking tile defect or a defects liability period issue, contact us to arrange an inspection. The earlier we are involved, the cleaner the outcome.
Read more →
Uncategorized
90% Adhesive Contact Coverage: The AS 3958 Standard Explained
If you have ever dealt with a tile defect claim, a failed bathroom installation, or a dispute with a builder over workmanship, you have probably come across the figure "90% adhesive contact coverage". It is the benchmark used across the Australian tile industry to decide whether a tile installation is sound or defective. Here is what it actually means, why it matters, and how TRIM uses it to deliver rectification you can stand behind.
Where the 90% figure comes from
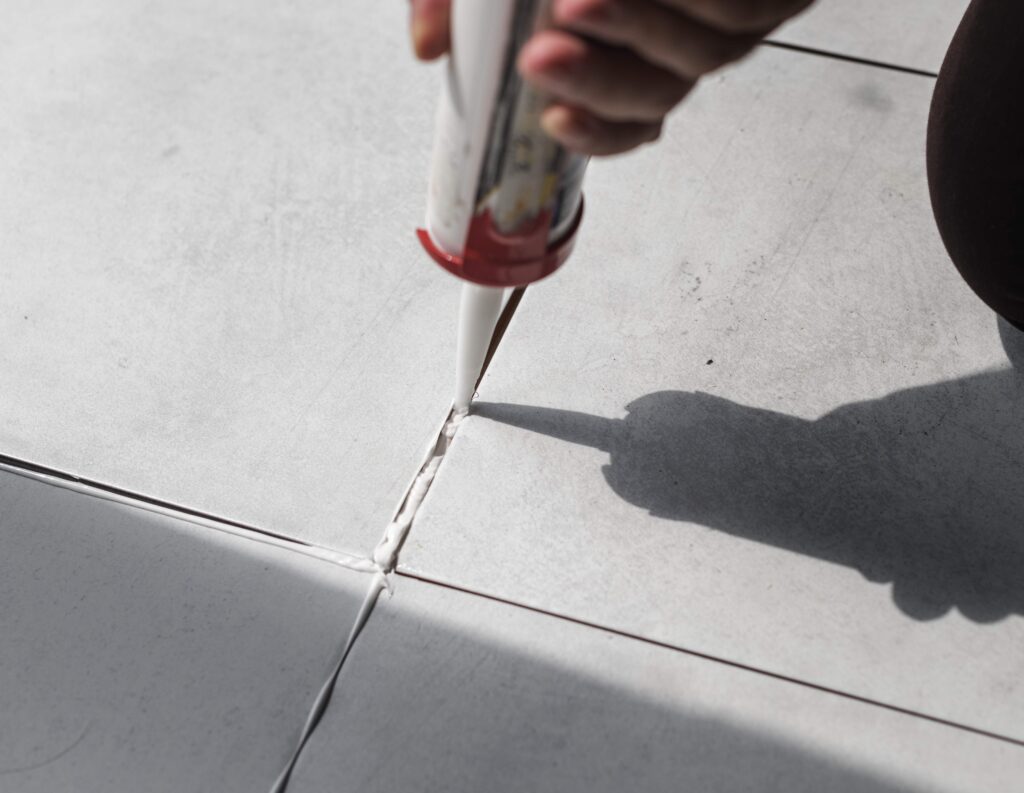
The 90% figure comes from the Australian standard for installing stone and ceramic tiles. For wet area walls the rule is simple: at least 90% of the back of each tile needs to be in direct contact with adhesive on the substrate behind it.
On top of that, the adhesive has to be evenly distributed. Having 90% coverage in the middle of a tile but no support around the edges is not enough. Every tile needs support across its full area, and especially at the perimeter where water and movement put the most stress on the bond.
Why 90% matters
The 90% figure is not arbitrary. It is the level of adhesive contact required to:
Provide uniform support to the tile against impact, loading, and shear stresses
Prevent water from accumulating in cavities behind the tile in wet areas
Maintain the integrity of the waterproofing system the tile is part of
Keep the adhesive manufacturer's product warranties valid
Below 90%, the tile installation becomes increasingly vulnerable to progressive failure. In a shower or splashback, the consequences compound quickly as water finds the gaps. Hollow-sounding tiles are often the first warning sign that coverage has dropped below the standard.
How contact coverage is measured
Measuring adhesive contact coverage after the fact, without removing tiles, requires the right tools. Our TRIM inspection process combines three methods:
Thermal imaging. Shows adhesive contact patterns as temperature variations across the tiled surface. Debonded areas with air cavities appear different to fully bonded areas.
Resonance testing. Tapping tiles to identify the hollow sound of an unsupported cavity.
Test drilling. Small probes through the grout joints to measure cavity depth and confirm thermal imaging findings.
The inspection quantifies the existing contact coverage percentage across the affected area, which is the starting point for any rectification decision. You can see the full methodology on our How It Works page.
Restoring compliance with Cavity Bridging Injection
When the inspection shows contact coverage below 90%, Cavity Bridging Injection is used to bring the installation back into compliance. Our rectification service pressure injects Injectabond adhesive through the grout joints until the cavity is filled. The same three diagnostic methods are used post-injection to confirm coverage is back above the standard, and a side-by-side thermal imaging comparison makes the outcome easy to see.
Examples of before and after inspections are on our residential and commercial projects page, with feedback from clients on our testimonials page.
Documentation for compliance and peace of mind
TRIM rectification is documented end to end. You receive:
Pre-injection thermal imaging showing the defective contact coverage
A scope of works and targeted rectification
Post-injection thermal imaging showing the restored coverage
Confirmation that the installation is back within the standard
Workmanship and Injectabond product warranties
This is the evidence base that supports insurance claims, builder defect discussions, wet area compliance reviews, and strata approvals, and it stays with the property.
If you have a coverage problem
If your tiles are drummy, hollow-sounding, or failing inspection for contact coverage, our team can assess the installation and confirm whether TRIM rectification is the right pathway. We service Brisbane and South-East Queensland, Sydney, Melbourne, the Gold Coast, and the rest of Australia. Contact us to book an inspection.
Read more →
Uncategorized
Wet Area Tiles: What Every Homeowner and Builder Needs to Know
Tiles in your bathroom or laundry are not just a surface finish. In the eyes of the National Construction Code, they are part of the waterproofing system that protects the building from water damage and protects the people inside from unhealthy, moisture-laden spaces. When wet area tiles fail to bond properly, the implications reach well beyond the tiles themselves.
Why wet area tiles are a compliance issue
The National Construction Code 2022 sets out the performance requirements every wet area in Australia has to meet. The short version is straightforward: water must not be allowed to sit in hidden spaces behind the tiles, and the tile installation has to be part of a system that keeps the wall water resistant.
For wall tiles to be treated as a water resistant surface, they have to be installed on an approved substrate and they have to be properly bonded to it. If the bond has failed and the tiles are debonded, the wall has stopped being water resistant the way the code requires. That is the heart of the compliance issue, and it is what TRIM inspections are designed to diagnose.
How spot bonding and debonded tiles breach compliance
When tiles are spot bonded with the wrong adhesive, or when tiles have lost their bond over time, the result is the same: hollow cavities behind the wall tiles where water can accumulate.
This is a direct breach of the code's requirements for wet areas. Even if the face of the tile looks fine, the cavity behind is a compliance failure and a health risk. Over time, trapped moisture promotes mould growth and accelerates the deterioration of the substrate, the waterproof membrane, and the building elements around it. What starts as a few drummy tiles becomes a progressive failure of the wet area itself.
Why rectification beats ignoring the problem
Owners, builders, and strata managers sometimes delay tile rectification because it sounds expensive or disruptive. The reality is usually the opposite. Ignoring a defective tile installation means:
Progressive damage. Substrate, membrane, and adjacent building elements continue to deteriorate.
Higher eventual cost. What could have been a targeted rectification becomes a full bathroom strip-out.
Insurance and warranty complications. Adhesive manufacturer warranties are voided when installation requirements are not met.
Reduced property value. A documented defect needs to be disclosed at sale.
Possible health effects. Persistent moisture behind wall linings affects indoor air quality.
How Cavity Bridging Injection restores compliance
The Tile Reglue Injection Method, delivered as our rectification service, brings spot bonded and debonded wall tiles back into compliance without removing them. Injectabond adhesive is pressure injected through the existing grout joints to fill the cavities behind the tiles and restore the level of adhesive coverage the standard requires.
All of this is documented with thermal imaging before and after the works, giving you an evidence trail for compliance, insurance, or resale. The full inspection and rectification methodology is explained on our How It Works page, with real examples on our residential and commercial projects page.
What to do if you suspect a defect
If you are an owner, builder, or strata manager with concerns about wet area tile compliance, the right first step is a professional inspection. Our team can assess the installation, document the defect, and confirm whether Cavity Bridging Injection is the correct rectification pathway. You can read what past clients have said about the process on our testimonials page.
We work across Brisbane, Sydney, Melbourne, the Gold Coast and Northern Rivers, Mackay, Townsville, Tasmania, and the rest of Australia. Contact us to book an inspection.
Read more →
Uncategorized
Thermal Imaging for Tile Inspections: What It Shows and Why It Matters
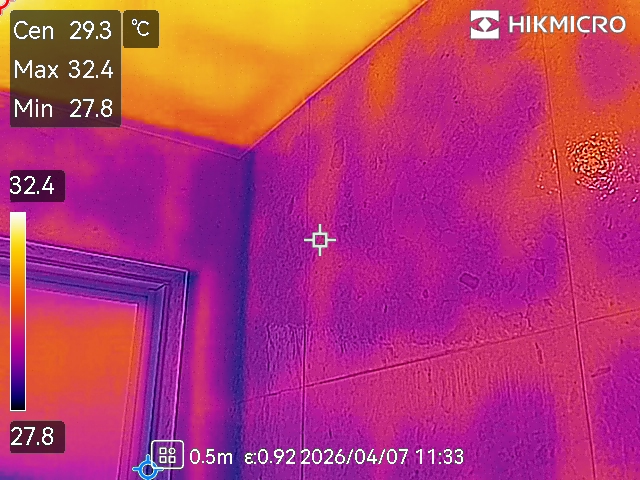
Drummy tiles, hollow-sounding shower walls, and spreading patches of debonded tiles all have one thing in common: the problem is behind the tile, where you cannot see it. Thermal imaging changes that. It lets our technicians map the extent and depth of tile debonding from the outside of the wall, without removing a single tile or disturbing the grout.
How thermal imaging reveals hidden tile defects
A properly bonded tile conducts heat to the substrate evenly. A debonded tile, with an air cavity sitting between the tile and the wall, insulates differently. That thermal difference is invisible to the naked eye, but it shows up clearly on a thermal imaging camera as cooler or warmer patches against the rest of the tiled surface.
On site, our operators combine thermal imaging with two other diagnostic methods:
Resonance testing. Tapping tiles to identify the characteristic hollow sound of an unsupported cavity. Not every hollow sound means a real problem, and our guide to when hollow-sounding tiles matter explains which ones do.
Test drilling. Small probes through the grout joints to measure cavity depth directly.
Together, these three methods build a clear, evidence-based picture of where the problem is, how widespread it is, and whether the TRIM rectification service is the right solution.
Why evidence-based inspection matters
Tile defects are often contested. A builder says the installation is fine. An owner says the tiles are loose. A strata committee wants proof before approving expenditure. An insurer needs documented evidence before accepting a claim.
Thermal imaging provides exactly that. The images produced during inspection clearly show how much of each tile is actually bonded to the wall behind it. The Australian standard for tile installation sets a minimum level of adhesive contact coverage, and thermal imaging quantifies the installation against that benchmark.
The same evidence is used to demonstrate compliance after rectification. Post-injection thermal imaging confirms that the cavity behind the tile has been filled and that coverage is back within the standard.
A picture is worth a thousand words
One of the biggest advantages of thermal imaging is that it makes a technical issue easy to see. A side-by-side comparison of pre and post-injection thermal images shows, at a glance, that the problem has been solved. Owners, builders, strata committees, and insurers all appreciate being able to see the result rather than just reading about it. Examples from real inspections are documented across our residential and commercial projects, with client feedback on our testimonials page.
What you get from a TRIM inspection
A TRIM site inspection is more than a quick look over the tiles. You receive:
A documented thermal imaging assessment of the affected area
Resonance and test drilling confirmation of any cavities
A clear scope of works for the rectification required
Guidance on what the findings mean for wet area compliance
A written quote for the recommended TRIM solution
The inspection report can be used for insurance claims, strata approval, builder defect discussions, or simply your own records. For a broader look at the methodology we follow, see our How It Works page.
Book a thermal imaging inspection
Thermal imaging takes the guesswork out of tile rectification. If you have drummy tiles, suspected water damage, or a tile defect that needs documenting, our team can inspect the area, report on what we find, and confirm whether Cavity Bridging Injection is right for your situation. We provide inspections in Brisbane, Sydney, Melbourne, the Gold Coast and Northern Rivers, and across Australia. Contact us to book an inspection.
Read more →
Uncategorized
Tile Repair vs Tile Replacement: Which Is Right For Your Home?
If you have loose, drummy or tented tiles, the question lands quickly: should you repair them, or rip the lot up and start again? It is a fair question, and the honest answer is that one option costs a fraction of the other. Tile repair using the Tile Reglue Injection Method can come in at around one third of the cost of full tile replacement, with no demolition, no skip bins and no living out of the bathroom for a week. Here is how the two options compare so you can make the call with confidence.
How tile repair and tile replacement compare on cost
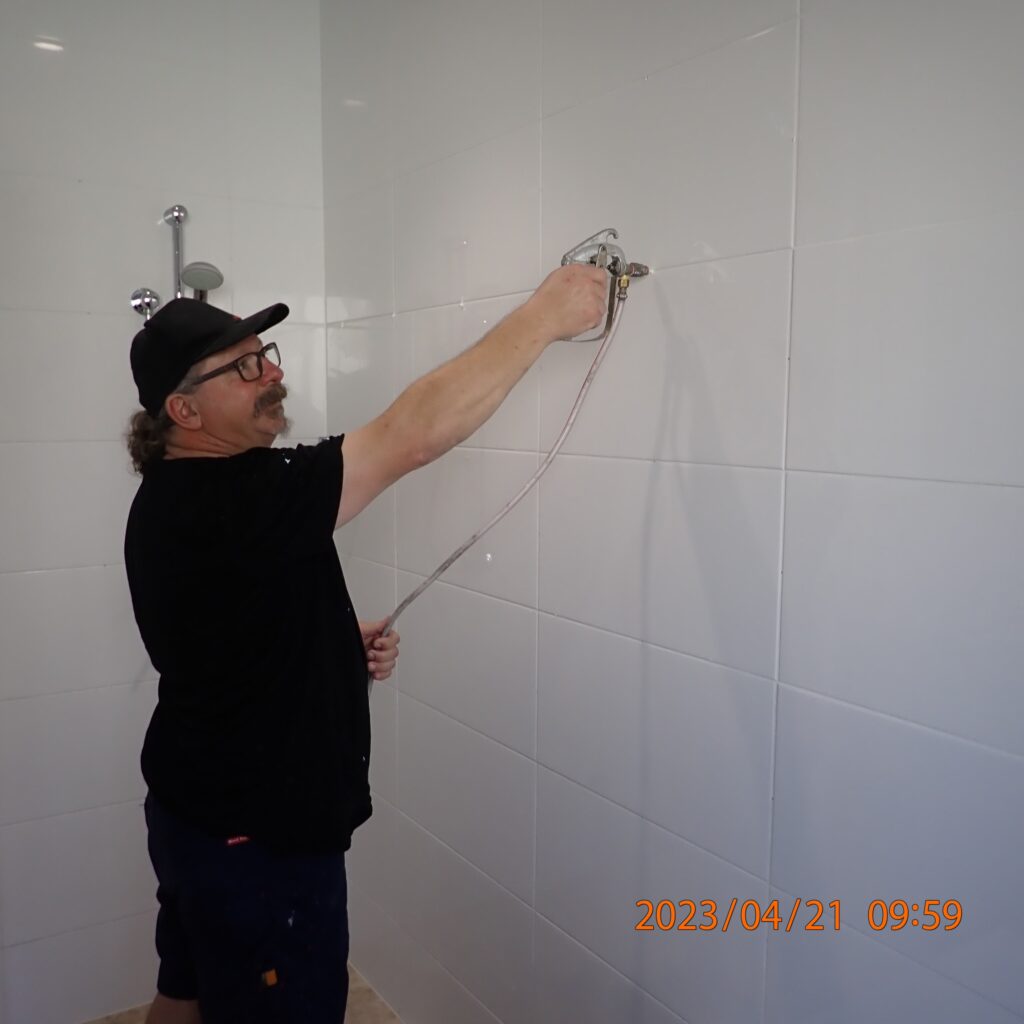
Full tile replacement is a multi-trade job. You are paying a tiler to strip the old tiles and adhesive, rebuild the substrate where it is damaged, reinstate the waterproof membrane in wet areas, lay new tiles, regrout and silicone the room, plus the cost of the new tiles themselves. On a standard bathroom floor that easily runs into the thousands before any unexpected substrate work comes up.Tile repair with TRIM works in the opposite direction. Rather than removing the loose tiles, our trained operators inject Injectabond adhesive through the grout joints to refix tiles to the substrate from below. There is no demolition, no replacement tiles to source and no waterproofing to redo. Across most jobs, that brings the cost down to around one third of what you would pay for a full strip and retile. You can see the full process on our How It Works page.
Time, mess and disruption
On time and mess, the gap is just as wide.Full replacement takes anywhere from several days to a couple of weeks per area depending on size, drying times and substrate condition. The room is out of action the whole time.TRIM repairs are usually finished in a single visit. Most floors are back in foot traffic within a few hours of the adhesive being injected, with no dust, no rubble and no need to move out.For a family bathroom, an occupied rental or a working commercial space, that difference matters. A repair that wraps up in an afternoon does not cost you days of rerouting around a renovation. Examples across a range of property types are on our residential and commercial projects page.
When repair is the smarter call
Tile repair is the right choice when:Your tiles are still in good visual condition but sound hollow, drummy, peaked or tented.The substrate underneath is otherwise sound.You cannot match the existing tiles, because the range has been discontinued or the dye batch differs.You are in a wet area and you do not want to disturb a working waterproof membrane.You want a permanent repair without the cost, time and disruption of a full replacement.If those conditions describe your situation, refixing tiles in place is almost always the better outcome. It is the same finished floor or wall, just one that no longer moves. Our tile tenting guide walks through what tenting and peaking actually look like if you are not sure which problem you are dealing with.When replacement makes more sense
There are still cases where full tile replacement is the right answer. Replace, do not repair, when:The tiles themselves are cracked, broken or visually damaged in a way you do not want to live with.The substrate underneath has structural problems that need rebuilding.You actively want to redesign the space with a different tile, layout or colour palette.The waterproof membrane has failed and the area needs to be stripped back regardless.In those cases, replacement is unavoidable. Repair will not bring back a tile that has cracked through, and our team will tell you straight if injection is not the right fix. We would rather be honest about that than try to repair a job that calls for a full rebuild.
The other factors most people forget
Cost and time are the obvious comparison points. There are a few less obvious ones worth weighing up too.Warranty backing. Every TRIM repair comes with a 10 year workmanship warranty, a 10 year Injectabond product warranty and a 30 year track record of successful rectifications across Australia.Compliance. Where defective tile installation is rectified under Australian Standards using Injectabond, the installation is brought back into compliance, which protects the property's value and the owner's rights.Environment and waste. Replacement creates skip bins of demolition waste. Repair leaves the tiles, the adhesive bed and the membrane in place, which is a far smaller environmental footprint.Insurance and strata implications. In strata-managed buildings, full tile replacement often requires sign-off, scaffolding access and overlapping trades. In-place rectification keeps the job small and local. Past clients have shared their experience on our testimonials page.Frequently asked questions
Is tile repair really one third the cost of replacement in Australia?
For most bathroom and floor jobs, yes. TRIM tile repairs typically cost around one third of full tile replacement because there is no demolition, no waterproofing rework and no new tiles to buy. The exact saving depends on the area size and tile condition, and we provide a written quote before any work starts.Should I repair or replace my loose tiles?
If your tiles are visually intact but loose, drummy, peaked or tented, repair is almost always the better option. If the tiles themselves are cracked through, the substrate has failed, or you want a redesign, replacement is the right call.How long does a TRIM tile repair take compared to replacement?
Most TRIM repairs are completed in a single visit, with floors back in use within a few hours. A comparable tile replacement job usually takes several days to a couple of weeks per room, with the area unusable throughout.Is a repaired tile permanent, or just a temporary fix?
It is permanent. Injectabond is a pressure injection adhesive with a 25 year tested service life, backed by a 10 year product warranty and a 10 year TRIM workmanship warranty.Do I need to move out for tile repair?
No. TRIM repairs are done in place with no dust, no rubble and no demolition. The property stays occupied throughout, which is why repair is often the only practical option for rentals, commercial spaces and family homes.Get an honest comparison on your own tiles
If you are weighing up repair against replacement, the simplest next step is a site inspection. Our team will assess the tiles, talk you through both options honestly, and provide a written quote so you can compare the two on real numbers. Service is available across Australia, including Brisbane, the Gold Coast and Northern Rivers, Sydney, Melbourne and all other areas. Contact us to book yours in. Why remove and replace? Inject and save.
Read more →