
If you have ever dealt with a tile defect claim, a failed bathroom installation, or a dispute with a builder over workmanship, you have probably come across the figure “90% adhesive contact coverage”. It is the benchmark used across the Australian tile industry to decide whether a tile installation is sound or defective. Here is what it actually means, why it matters, and how TRIM uses it to deliver rectification you can stand behind.
Where the 90% figure comes from
The 90% figure comes from the Australian standard for installing stone and ceramic tiles. For wet area walls the rule is simple: at least 90% of the back of each tile needs to be in direct contact with adhesive on the substrate behind it.
On top of that, the adhesive has to be evenly distributed. Having 90% coverage in the middle of a tile but no support around the edges is not enough. Every tile needs support across its full area, and especially at the perimeter where water and movement put the most stress on the bond.
Why 90% matters
The 90% figure is not arbitrary. It is the level of adhesive contact required to:
- Provide uniform support to the tile against impact, loading, and shear stresses
- Prevent water from accumulating in cavities behind the tile in wet areas
- Maintain the integrity of the waterproofing system the tile is part of
- Keep the adhesive manufacturer’s product warranties valid
Below 90%, the tile installation becomes increasingly vulnerable to progressive failure. In a shower or splashback, the consequences compound quickly as water finds the gaps. Hollow-sounding tiles are often the first warning sign that coverage has dropped below the standard.
How contact coverage is measured
Measuring adhesive contact coverage after the fact, without removing tiles, requires the right tools. Our TRIM inspection process combines three methods:
- Thermal imaging. Shows adhesive contact patterns as temperature variations across the tiled surface. Debonded areas with air cavities appear different to fully bonded areas.
- Resonance testing. Tapping tiles to identify the hollow sound of an unsupported cavity.
- Test drilling. Small probes through the grout joints to measure cavity depth and confirm thermal imaging findings.
The inspection quantifies the existing contact coverage percentage across the affected area, which is the starting point for any rectification decision. You can see the full methodology on our How It Works page.
Restoring compliance with Cavity Bridging Injection
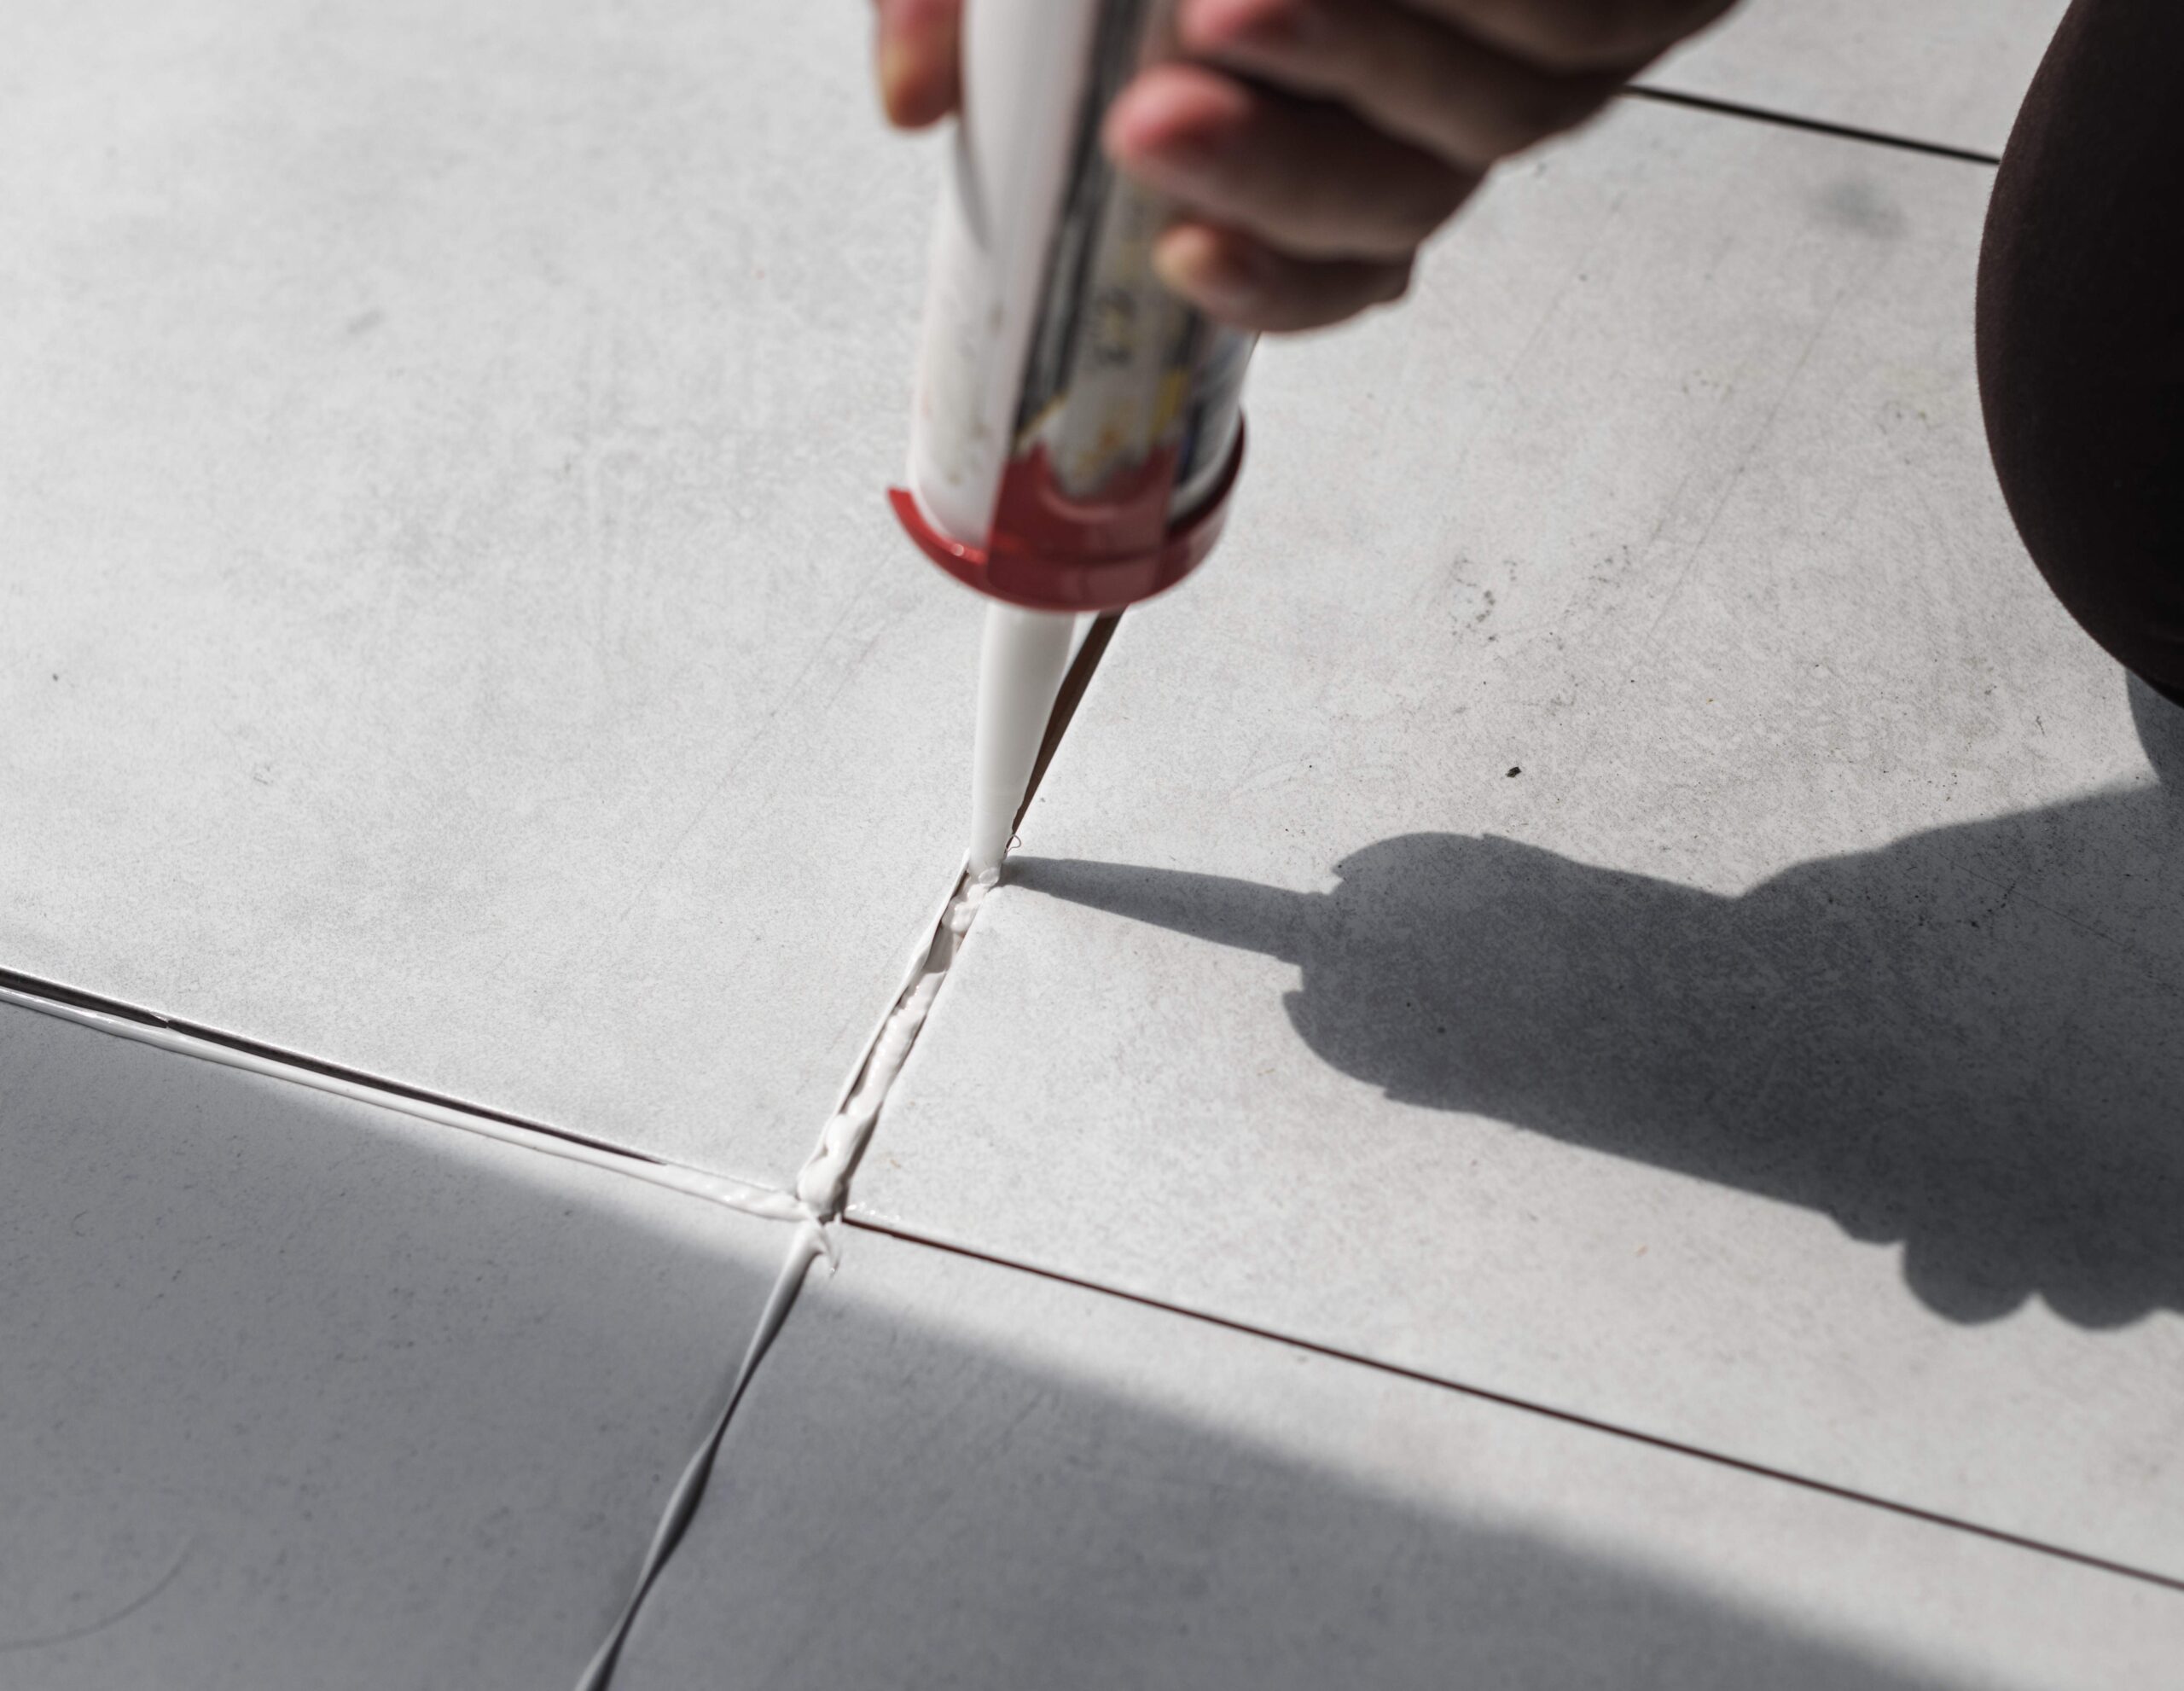
When the inspection shows contact coverage below 90%, Cavity Bridging Injection is used to bring the installation back into compliance. Our rectification service pressure injects Injectabond adhesive through the grout joints until the cavity is filled. The same three diagnostic methods are used post-injection to confirm coverage is back above the standard, and a side-by-side thermal imaging comparison makes the outcome easy to see.
Examples of before and after inspections are on our residential and commercial projects page, with feedback from clients on our testimonials page.
Documentation for compliance and peace of mind
TRIM rectification is documented end to end. You receive:
- Pre-injection thermal imaging showing the defective contact coverage
- A scope of works and targeted rectification
- Post-injection thermal imaging showing the restored coverage
- Confirmation that the installation is back within the standard
- Workmanship and Injectabond product warranties
This is the evidence base that supports insurance claims, builder defect discussions, wet area compliance reviews, and strata approvals, and it stays with the property.
If you have a coverage problem
If your tiles are drummy, hollow-sounding, or failing inspection for contact coverage, our team can assess the installation and confirm whether TRIM rectification is the right pathway. We service Brisbane and South-East Queensland, Sydney, Melbourne, the Gold Coast, and the rest of Australia. Contact us to book an inspection.