Grout. The hero of your tiled surfaces often goes unsung but does its job silently until discoloration, cracks, and grime take over and compromise not only its appearance but also the integrity of the tiles. Whether it be your kitchen backsplash, bathroom walls, or foyer floor that shows signs of distress, this guide provides tools to bring back its shine, protection, and aesthetic appeal, and return them to perfect condition.
Diagnosis and Prep
Repair begins by conducting an in-depth diagnosis of any problem areas. Assessing the extent of damage is of vital importance, be it mildew due to prolonged dampness, cracks from structural shifts, or simply years of neglect that have resulted in discolouration and loosening. Diagnostic services aim to assess whether an issue is solely aesthetic or indicates deeper structural concerns that require professional treatment. Once this evaluation has taken place, preparation begins in earnest. Prep involves cleaning affected areas to eliminate surface dirt and grime that could slow down repair efforts. This might require using commercial cleaners or making your own solution of baking soda and vinegar to ensure that the lines are ready for repair. At this stage, it’s also important to use painter’s tape to protect surrounding tiles from potential damage during the repair process. Collecting all necessary tools and materials, such as grout saws, floats and matching grout mix, are also vitally important steps toward creating a successful grout repair so as to restore functionality while simultaneously improving aesthetic appeal on tiled surfaces. This preliminary phase sets up successful rejuvenation processes to restore both functionality and aesthetics.
Selecting Tools and Materials
Securing the long-term beauty of tilework through proper repair requires selecting appropriate tools and materials. Several items should form an essential part of any DIY enthusiast’s arsenal. First and foremost, a grout saw or removal tool can help remove old, damaged grout without further damaging tiles. Precision here is key, as this sets the stage for an effortless application of new grout. Next, use a grout float to evenly apply and smooth out the new grout into the gaps between tiles. Choose your grout wisely. Selecting one that complements existing grout will create a uniform aesthetic, while opting for something bolder can give a modern feel. Sealing the grout post-installation with a quality sealer protects it against moisture and stains, prolonging its life and aesthetic value. A sponge and bucket of water are necessary for wiping away excess grout from tile surfaces before it sets. Do not underestimate the significance of safety gear such as gloves and glasses for safeguarding yourself during the repair process. Together, these tools and materials equip you to achieve professional-grade results, restoring integrity and beauty to tiled surfaces with confidence.
Repairing Your Grout
Once your tools and area are ready, it’s time to tackle the main event – repairing your grout.
- Begin by carefully using a grout saw to cut away old or damaged grout before taking care not to chip or break any tiles during removal. Step one requires patience and precision as you carefully follow along the lines, extracting all compromised grout.
- After doing so, use either a vacuum or damp cloth to clean out the grooves to prepare them for new grout.
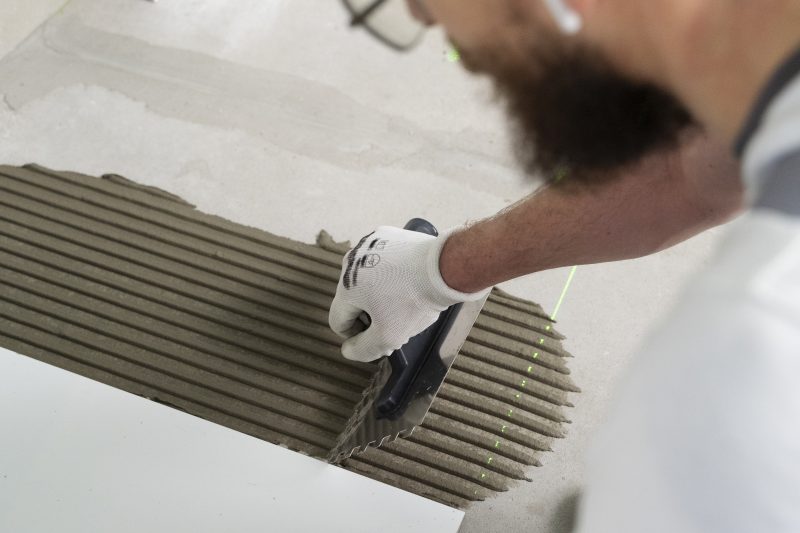
- Mix new grout according to manufacturer instructions, aiming for a thick yet spreadable texture.
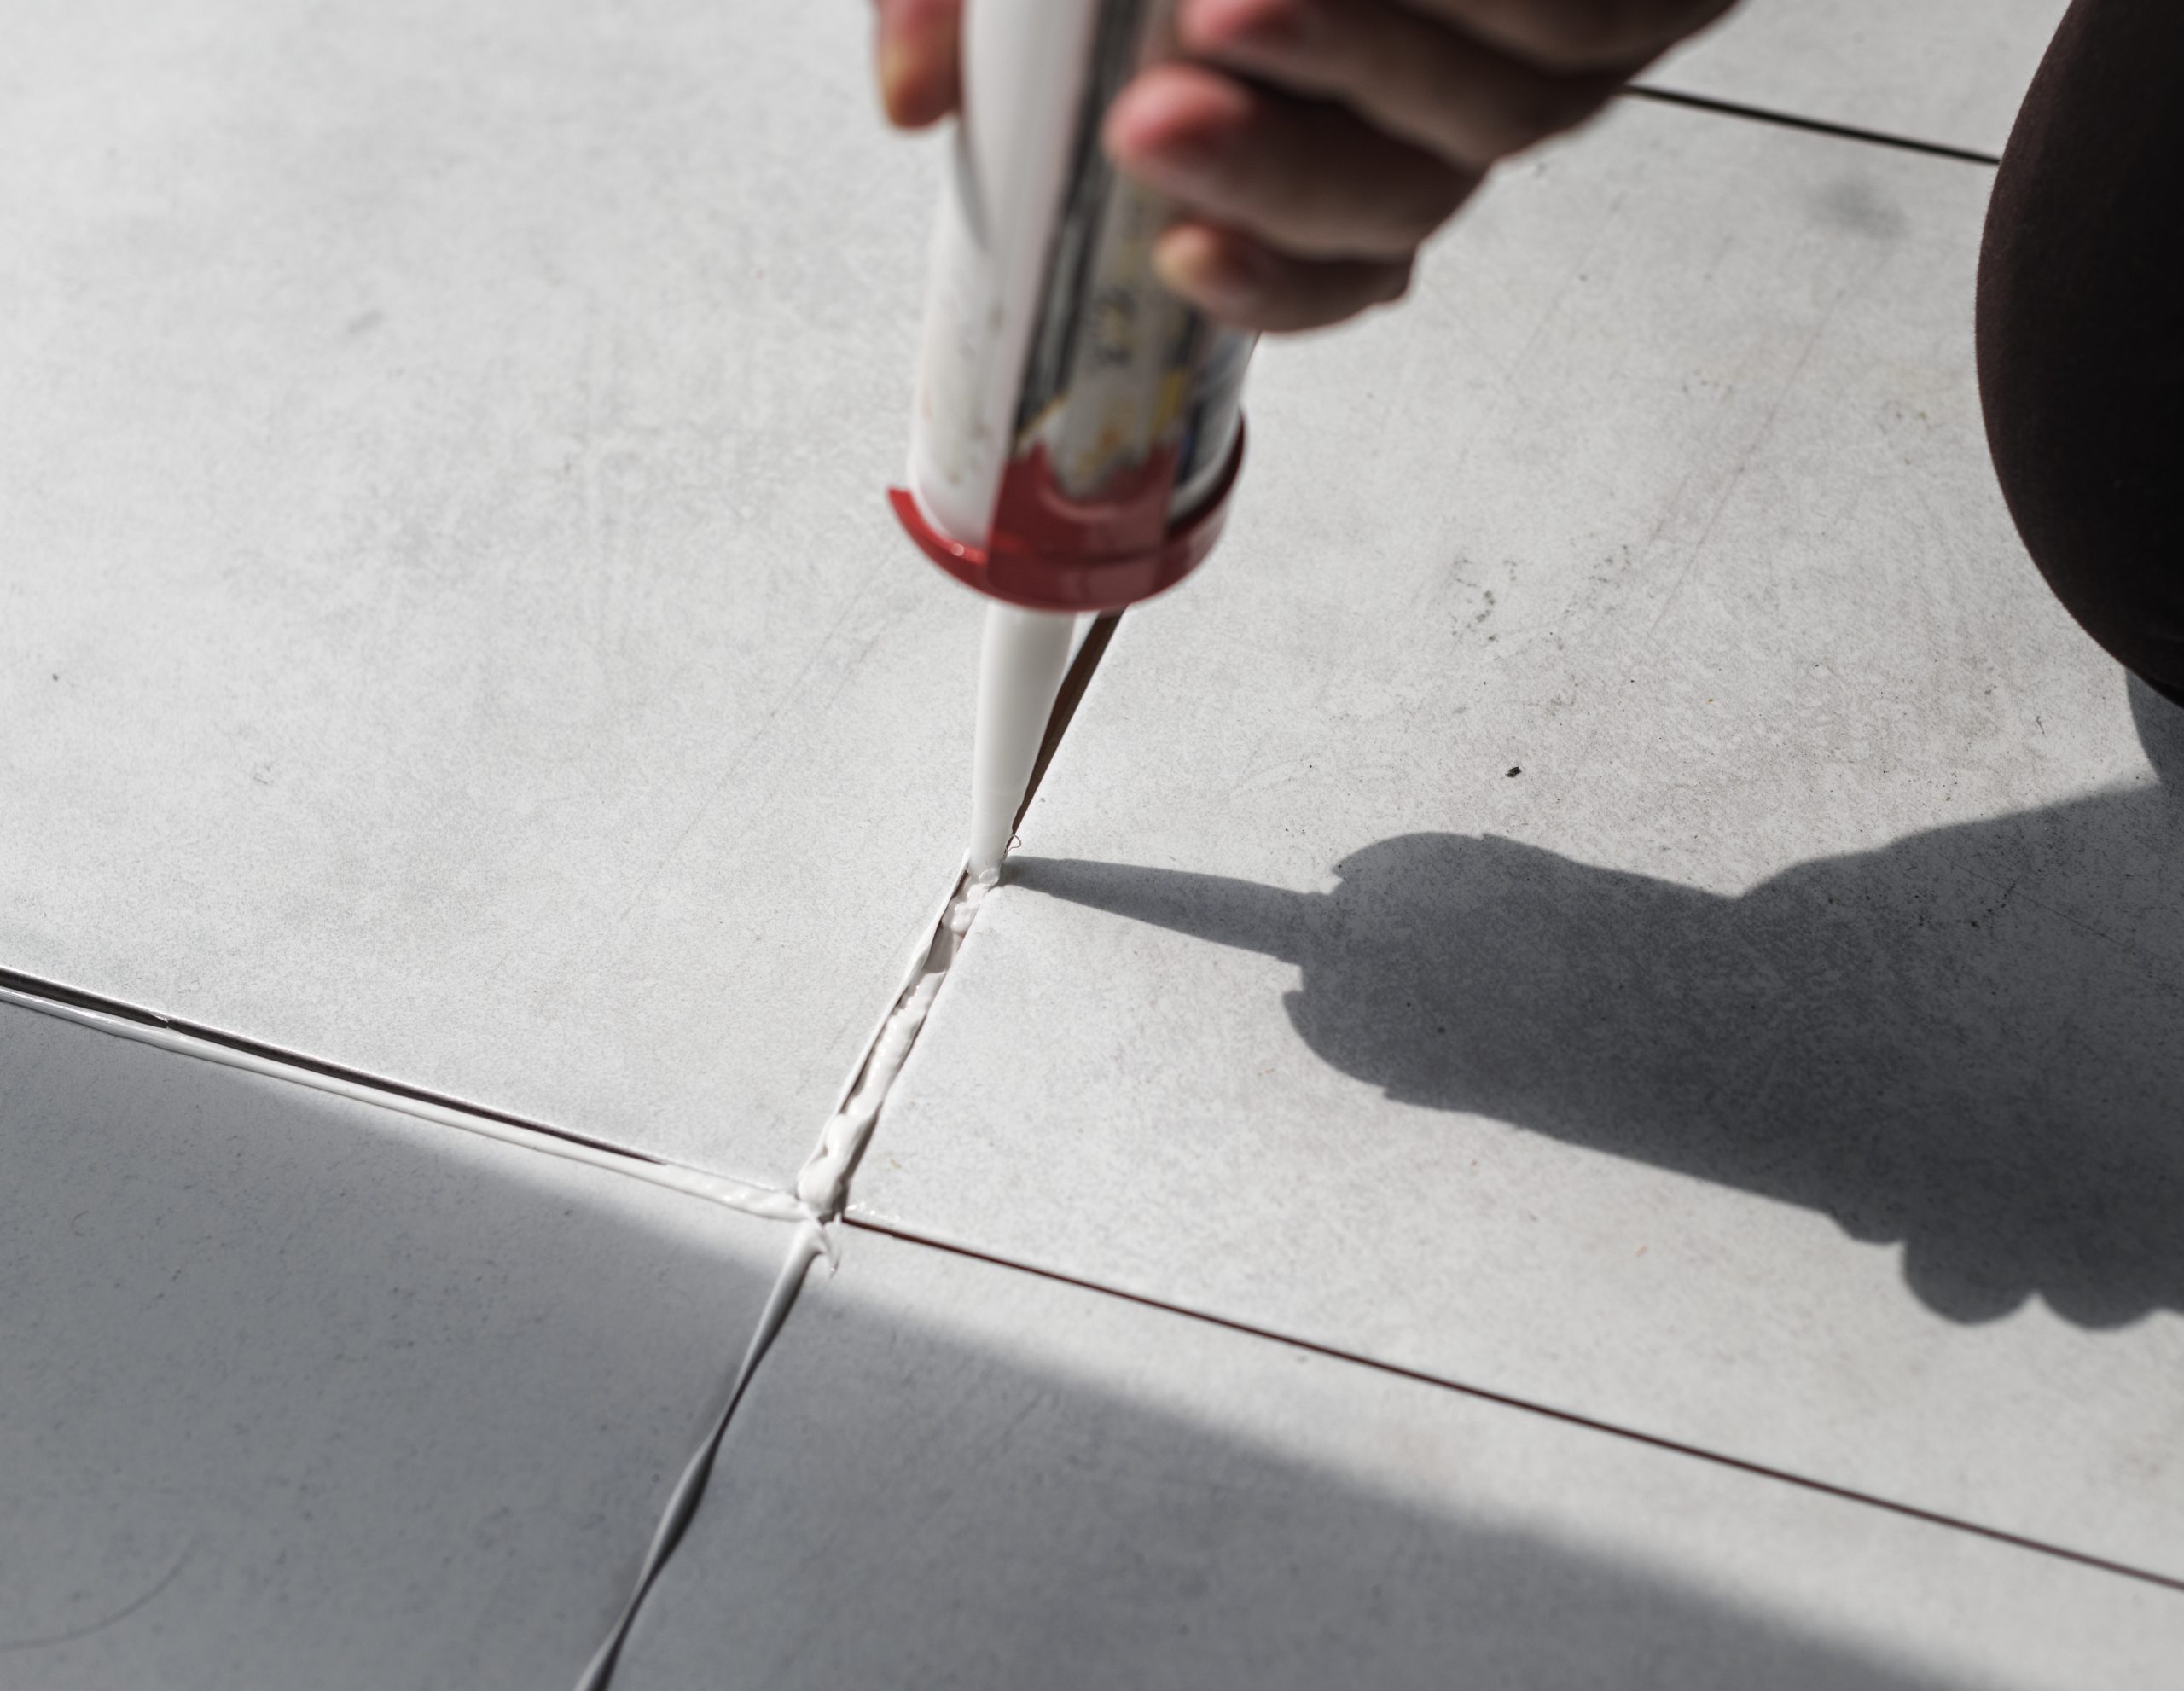
- Apply with a grout float by pressing it firmly into joint spaces until completely filled in. Ensuring movement is diagonally across tiles for even coverage of gaps and openings.
- Once the joints have been filled, use the edge of a grout float to remove any excess grout from the tiles. Allow it to set briefly before lightly sponge-sweeping to clean away any residuals while taking care not to disturb newly filled joints.
- Once the grout has set up, which generally takes 24 hours. Apply a sealant to protect it from moisture and staining and complete your repair project.
With proper planning and attention to detail, this process not only restores functionality but also revitalises beauty in tiled areas.
Sealing and Maintenance
Finish your repair masterpiece off right by sealing it. This crucial step ensures watertight, stain-proof grout that extends the life and beauty of your tiles. For best results, choose a sealant tailored specifically to your tile type and material before carefully applying it. As part of regular maintenance, gentle cleaners with soft brushes should help ensure flawless grout for years to come.
Conclusion: Revel in Your Grout Greatness
Congratulations! You have successfully accomplished grout repair. By now, your tiled surfaces should reflect all your hard work and this guide’s knowledge. Enjoy it and bask in its beauty. Remember, grout may seem like a minor detail. However it plays an enormous role in improving both the aesthetics and durability of tiled areas. Take pride in your restored surfaces. Don’t be shy to show it off a bit – after all, they deserve to shine! Now it is up to you to maintain them to keep the beauty and integrity intact and your grouted surfaces in good shape.