
Mosaic pieces of art have long been people’s favourite for various reasons. The most obvious one is the beauty they portray in different designs and colours. There are numerous ideas when it comes to mosaic pieces of art. Among them are countertops, portraits, bedside tables, birdbaths, garden chairs, birdhouses, cinder blocks, and so forth. You can make a mosaic design from any piece of broken glass. This article, however, shows you how to create the pieces from broken tiles. Brace yourself because you can become creative with broken tiles rather than throwing them away. Creating mosaic pieces using broken tiles may sound easy, but without proper planning, you may end up not liking your art. Here are tips on how to come up with beautiful mosaic models.
Generate your Idea
As mentioned, there are numerous mosaic patterns and models you can create using broken tiles. Therefore you need proper planning regarding what you want to piece. Thus, get an idea of what would work best for you. If you are crafty, you can sketch a drawing of what you picture in mind after you complete the project. Suppose you are empty of ideas, you can find inspirational articles and books on ceramic tiles in any bookstore.
Select your Preferable Tiles
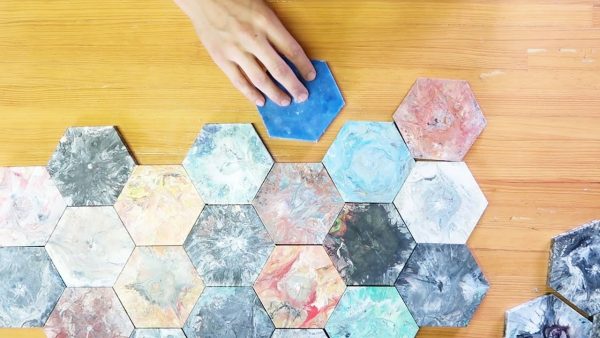
Therefore check the broken pieces of tiles and pick your best in terms of size and color. If there are not enough for your created idea, go to local hardware, and purchase tiles with textures and colors you admire. You can choose ceramic or porcelain tiles. To add, consider purchasing a tile cutter to help you get the best of shapes for the pieces.
Break your Tiles

Although, for the new tiles, break them using a hammer or drop them on a hard surface. As you do this, maintain a safe distance as the breaking pieces can end up hurting you. Also, this is the best time to use tile cutters as they have minimum chances of causing accidents, not forgetting very comfortable to use. After this, group the pieces in categories of colour and size. That way, you will have it easy picking a preferred piece for a particular location on your model.
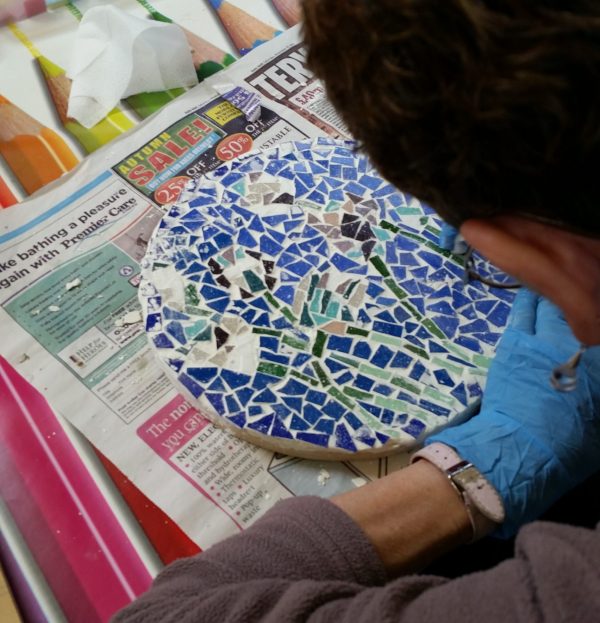
Lay your Tiles
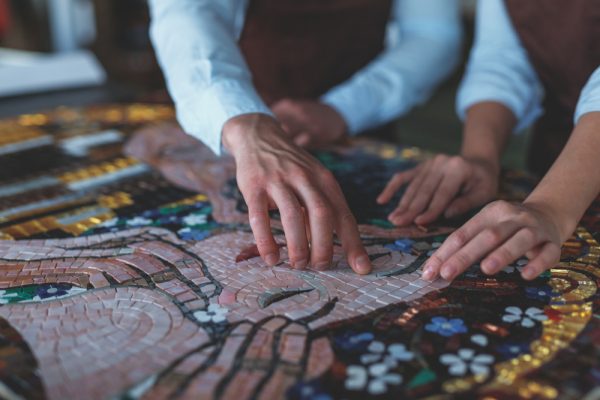
Ultimately, with preciseness, lay the broken tiles on the surface that you want to decorate. Your pattern depends on what you picture after completion. This is the part where you get to play with your creativity. You can change the setting as many times as you want until you come up with a perfect pattern that pleases your eyes. Now, take the surface with the pieces and slide it in a frame, most preferably wooden.
Glue the Pieces on the Surface
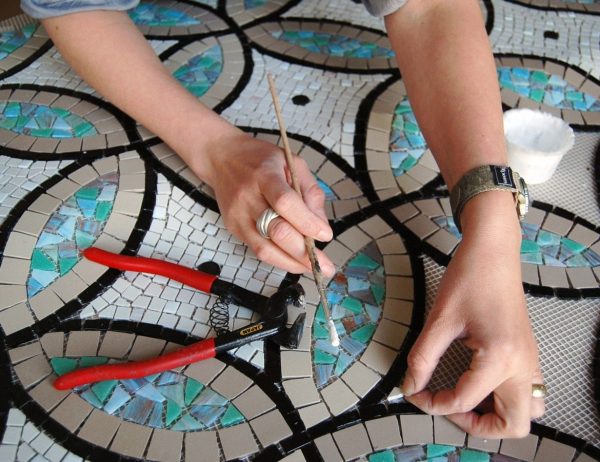
However, using tile adhesive, glue individual pieces on the decorative surface. You will want to be careful to avoid fixing the parts in the wrong locations. The best idea is ensuring every piece is at your preferred location before bringing the tile adhesive into use.
Cement the Tiles
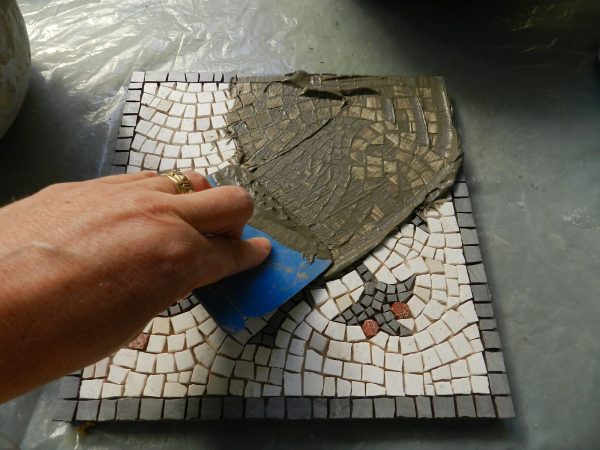
Therefore after sticking the pieces on the surface, mix cement with water, and put the mixture all over the tiles. Keep in mind that the mixture should be sort of liquid but not runny. Using a clean piece of cloth or sponge, rub off the excess cement as you clean the parts. Give time for the cement to dry. Now, you have a beautiful mosaic of your desired pattern.