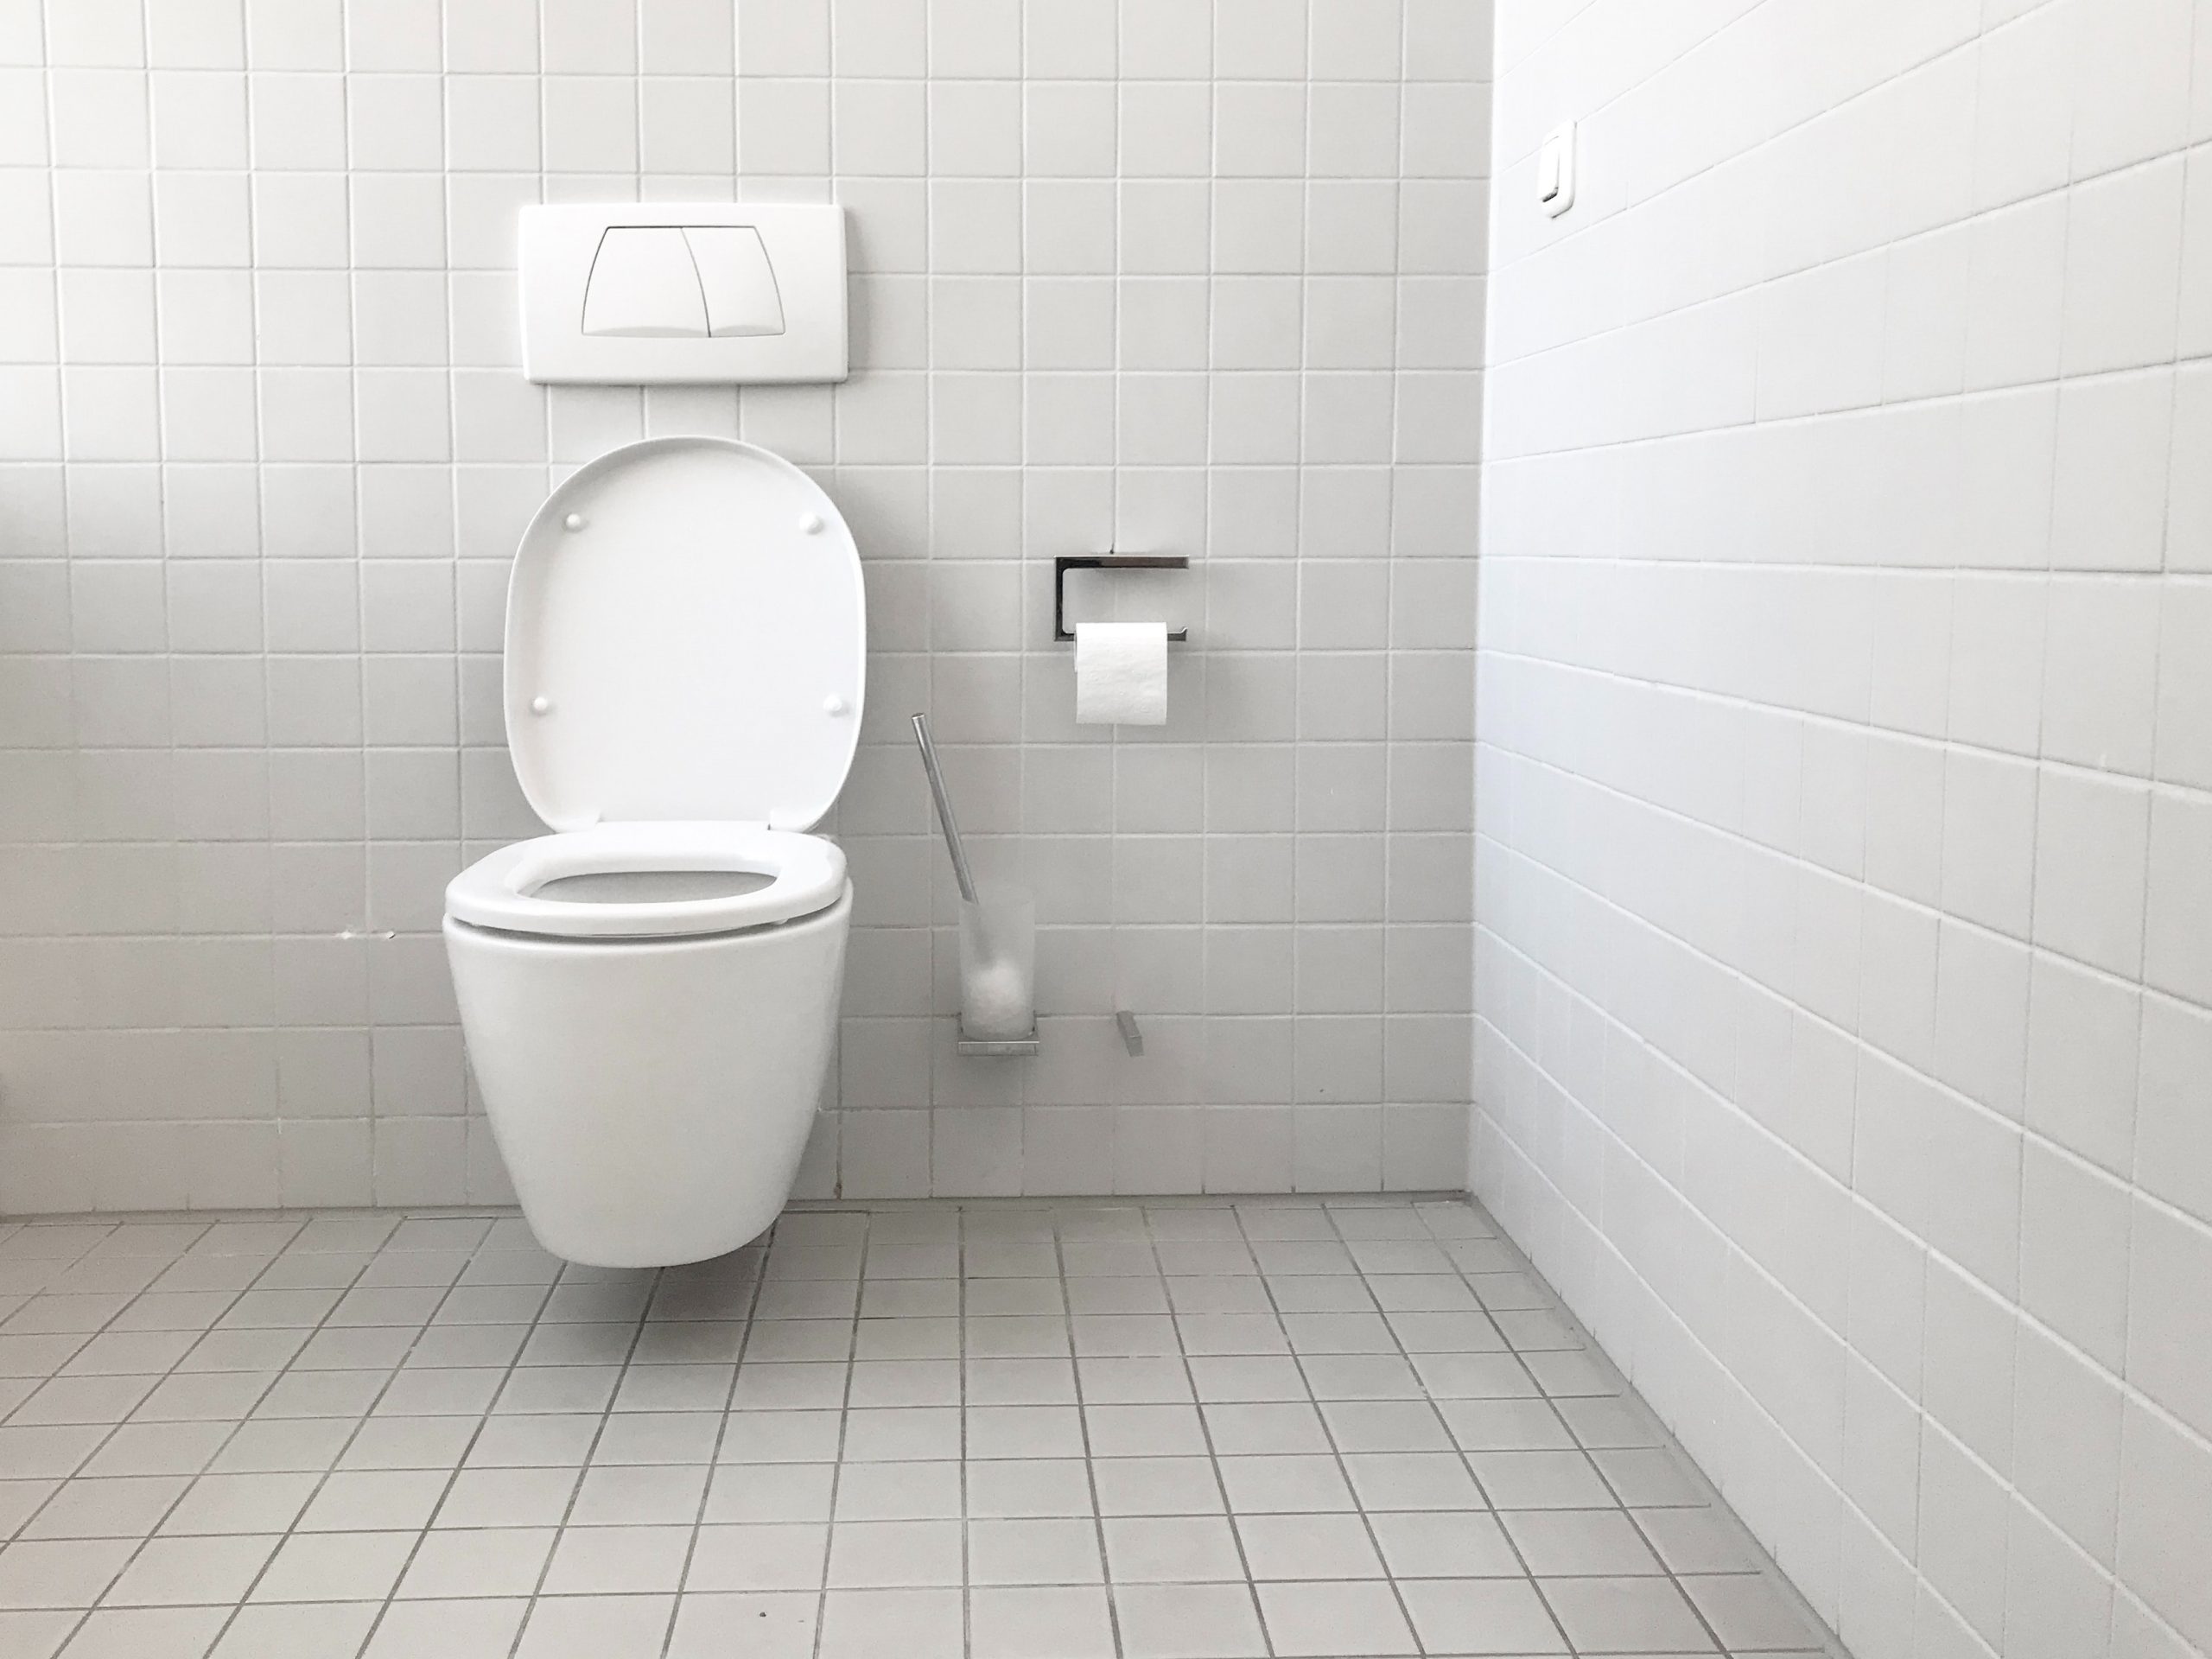
Did you know repairing a discoloured or broken tile can not only make your home appealing but also highly improve the value of your home? Have you ever come across some yucky grout discolouration in the kitchen or bathroom tiles? The tiles don’t have the clean, white grout that was there originally. This is a clear indication that a Tile Repair is required.
Repairing your tile grout is the best undertaking if you were to fully prevent them from cracking and chipping. More importantly, it will leave your floors and countertops looking as fine as new! When you notice that your grout is becoming a bit dingy, it’s high time to call your Tile Repair professional.
What Causes Tile Cracks?
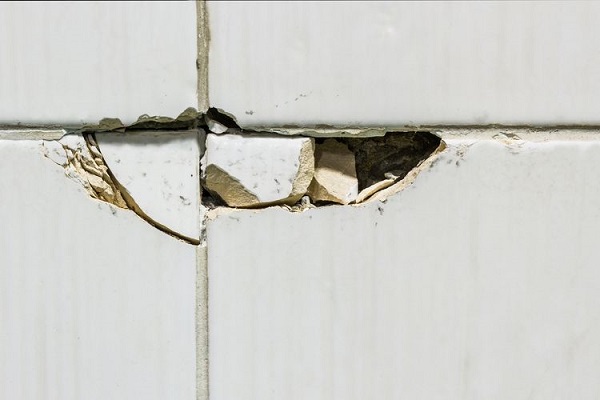
Tiles cracks if something has fallen on them or after the underlying surface that supports it has shifted as a result of earthquake, settling, or wind. Also, if the underlying floor isn’t that stiff to hold the loads without deflecting. These deflections are the ones that cause cracks.
Bear in mind that deflections are rare when tiles are fixed over a concrete slab. However, if you want to fix them over a wooden floor, it advisable to enforce it with an extra layer of plywood before placing the tiles. This will prevent them from breaking. That said, how do you
How to Repair/Replace Your Tiles
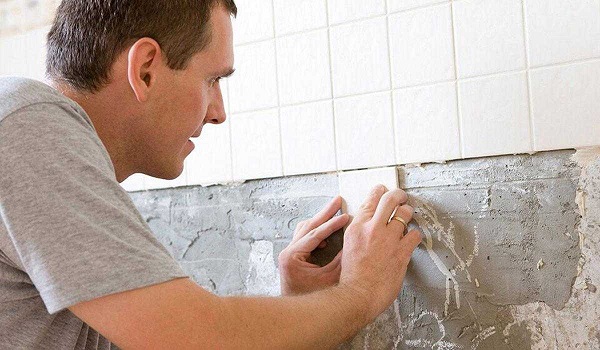
It is always advisable to involve a tile professional every time you think about fixing or repairing your tiles. But when an emergency knocks, you have to be ready to face the task. That’s why we have rounded for you a step-by-step guide on how to replace a broken or discoloured tile. Here we go!
1. Scrape grouts from the joints using a grout saw or a lever.
2. Use a nailset or a hammer to punch a hole on the damaged tile
3. Use a glass cutter to notch a cross (X) on the face of the tile and rap a chisel to break it from the centre.
4. Rub off the pieces with a prybar or an old chisel and vacuum-clean the area.
5. Apply latex primer on the surface and allow it to dry.
6. Now apply the tile adhesive using a trowel.
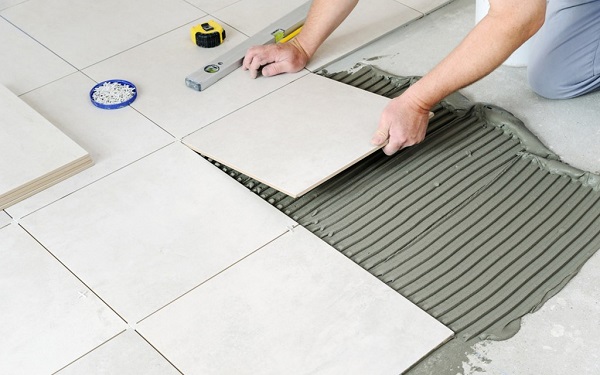
7. Place the new tile gently pressing it with a slight motion. Take care of the grout joints around it.
8. Level it up with a rubber mallet and remove any excess adhesive from the joints.
Why You Should Always Hire a Professional to Repair Your Tiles?
While the above process might seem easy to DIY, it is always advisable to hire a Tile Repair expert to undertake the job. Remember experts are already experienced in whatever they do. Besides they are academically qualified to handle the work.
It is also easy for you to break more tiles as try this small undertaking. Furthermore, when you misplace tile arts, it might be hard to bring the desired pattern. An experienced tiler also knows all the tricks involved even in cutting tiles to fit even the irregular fixtures. So, always consider involving a skilled and experienced expert whenever you have a Tile Repair undertaking.