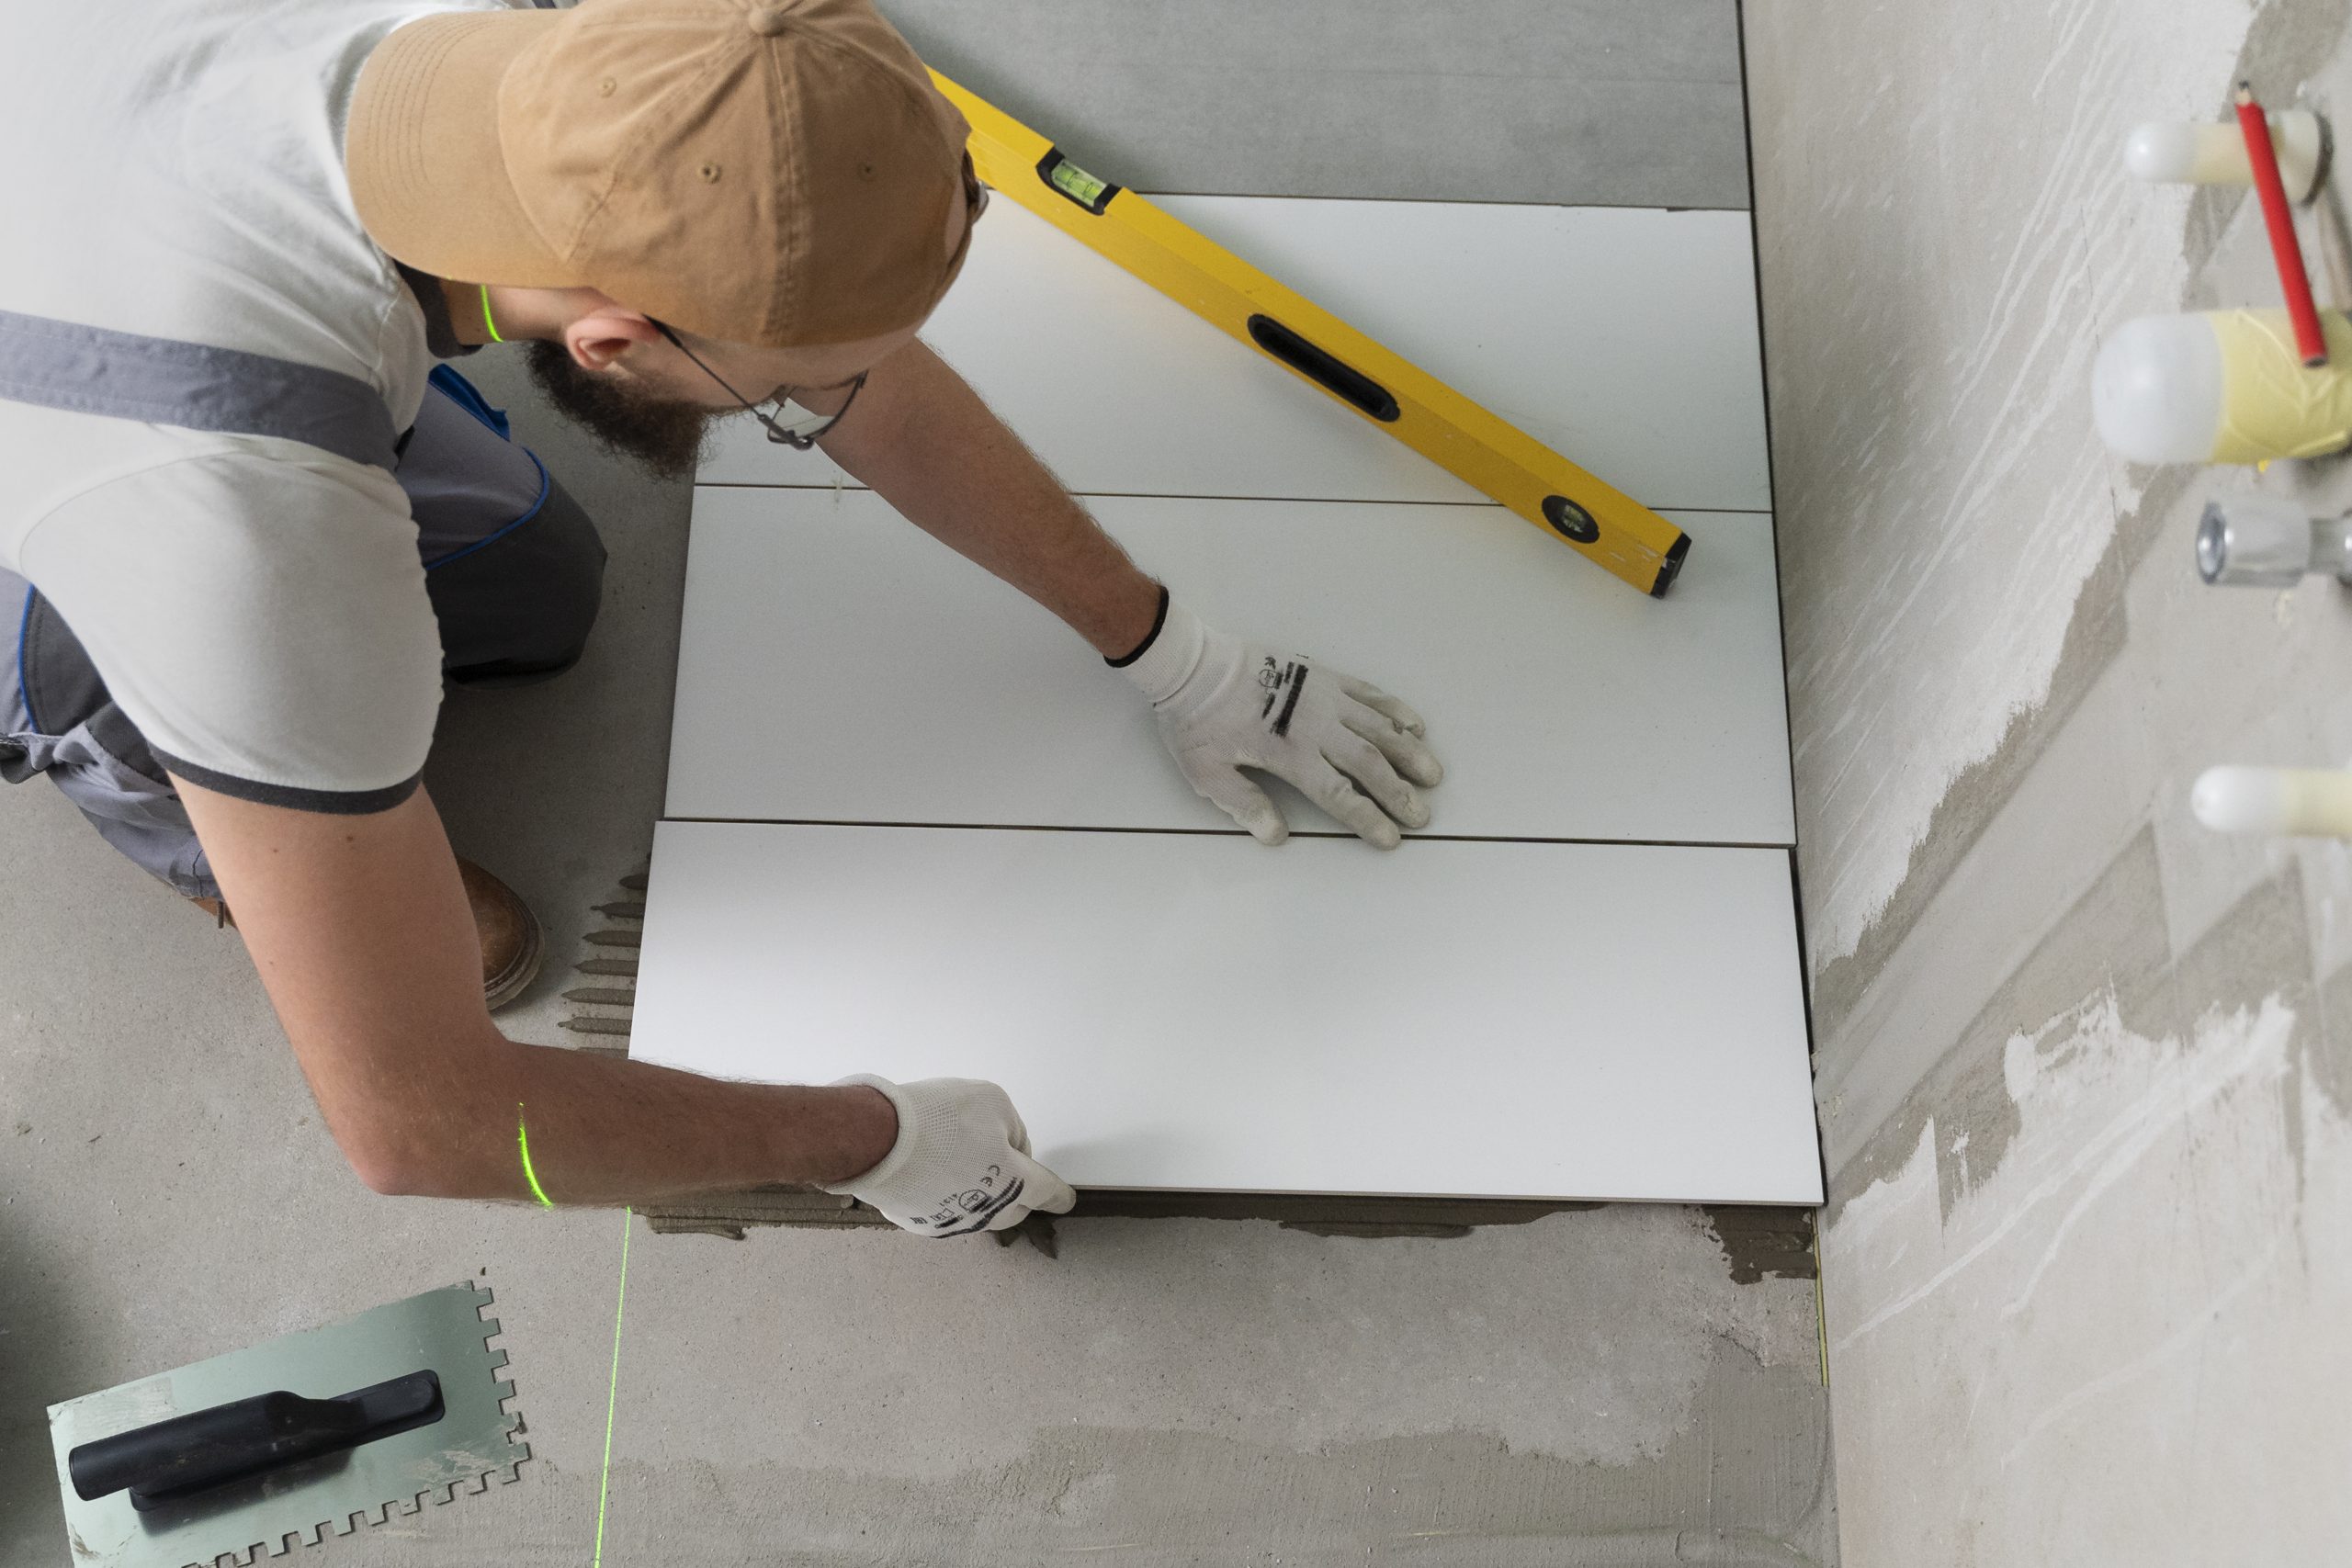
However, Lifting tiles is one of those things many of us homeowners have to do from time to time, but it is also one of those DIY jobs that can be pretty tricky to get right. One thing that will help you to do so is, of course, having the right tools at your side to do the job.
Although that being the case, let’s take a look at the tools you will need for lifting tiles down below, along with a guide to lifitng those tiles safely with no damage:
Essential Tools for Lifting Tiles
Before you start the job of lifting tiles, you will need to gather the following to ensure that you have all you need to reduce the risk of damaging tiles or the surface below them:
- Utility Knife: A good utility knife is essential for cutting through grout and sealant that may have been placed around the tiles. It will allow you to remove it with precision without damaging any adjacent tiles.
- Pry Bar: A flat, thin pry bar can gently lift loose tiles (and not-so-loose ones too). Choose one with a slim edge to minimise damage.
- Tile Scraper: A tile scraper or chisel is great for getting rid of adhesive and mortar once your loose tiles have been lifted.
- Grout Saw: A grout saw is useful for removing grout from around the edges of the tile before attempting to lift it. This prevents cracking and reduces pressure on the surrounding tiles.
- Hammer (Rubber Mallet): If necessary, a hammer or rubber mallet can be used in conjunction with the pry bar or chisel to apply gentle pressure without shattering the tile.
- Putty Knife: For stubborn tiles, a putty knife may be used to help loosen the tile from the adhesive or surface.
- Protective Gear: Gloves, eye protection, and a dust mask are also recommended to protect yourself from sharp edges, flying debris, and dust.
Step-by-Step Instructions for Lifting Tiles Without Damage
Now that you have everything you need, it’s time to lift those tiles, so can carry out a tile repair, fix, loose tiles, or apply new ones. Etc. However here’s how to do that cleanly:
Assess the Tile and Surrounding Area
First of all, inspect the tile you are looking to remove and the area surrounding it. Work out if the tile is loose or whether it is still stuck fast to the substrate. You should also look at the grout lines around your tile. Also make sure that it is not cracked or has no gaps that could affect the neighbouring tiles.
Remove Grout Around the Tile
Now, using your grout saw or utility knife, you can carefully remove the grout around the tile you want to lift. Doing this will help to make sure that you don’t damage any adjacent tiles. However you will need to be carful not to scrape grout from the edges of tiles you don’t want to remove
Create an Entry Point
Furthermore once the grout has been cleared, it’s time to create an entry point that will allow you to start lifting tiles, You can do this with a putty or utility knife. All you need to do is gently pry around the edges of the tile. Loose tiles will be easier to manoeuvre, but if not, you will just have to be patient and keep working it.
Use a Pry Bar for Lifting
Insert the pry bar carefully beneath the tile. Start at one corner and work your way around, gently lifting the tile as you go. Be gentles and remember that patience is key.
Lift the Tile Slowly
As you pry, lift the tile slowly and steadily. If you feel resistance, stop and check if more adhesive needs to be loosened first. However keep going until your tile lifts free of resistance. Finally you should always keep the tile at a shallow angle to avoid snapping it.
Remove Adhesive and Clean the Surface
After the tile is removed, you’ll likely find adhesive or mortar still stuck to the surface. Use a tile scraper or chisel to gently scrape away any remaining adhesive. It’s important to clear the surface entirely. Especially if you plan to reinstall a new tile in the same spot. A clean surface will ensure better adhesion for the replacement tile.
Tips for Protecting Surrounding Tiles and Surfaces
Protecting the surrounding tiles is crucial to maintaining the integrity of your overall tiling project. Here are a few additional tips to help:
- Masking Tape: Apply masking tape around the edges of the tiles you’re working on. This adds an extra layer of protection and helps prevent accidental chipping or scratching during the lifting process.
- Work Slowly: Rushing can lead to costly mistakes. Be patient when prying and scraping, and avoid applying too much pressure in one spot.
- Protect the Substrate: If you’re lifting floor tiles, place a soft material such as cardboard or cloth underneath the pry bar to protect the substrate from scratches or damage.
Common Mistakes to Avoid
Skipping Grout Removal: One of the most common mistakes is attempting to lift a tile without removing the grout first. This can cause surrounding tiles to crack or chip. As the grout holds them tightly together.
Using Too Much Force: Applying too much pressure when prying up the tile can cause it to snap or break. Use gentle, steady pressure to lift the tile without damaging it.
Not Cleaning the Surface: Failing to remove old adhesive or mortar can result in an uneven surface for reinstallation, leading to loose tiles down the line.
Preparing for Reinstallation
Once your tile has been lifted successfully, you will want to prepare for reinstallation. Likewise once the surface has been cleaned, you should check for any damage to the substrate. If there are cracks or uneven areas to be found. By adding new adhesive to repair them is a must that will ensure a strong bond for your tile repair.

